
If you’ve ever tried layering necklaces, you know the struggle.
One second, you’re putting the finishing touch on your outfit—the next, you’re hunched over your vanity, desperately trying to separate a tiny, stubborn ball of chains.
It’s like your jewelry decided to tie itself into knots just to mess with you.
Yeah. We’ve all been there.
But layering necklaces should be easy. It should feel stylish, effortless, cool—not like you’re battling some evil knot monster.
Good news? You can totally fix it—and you don’t even need fancy jewelry skills.
Just a few smart tricks, a little planning, and you’ll be layering like a pro, tangle-free.
Let’s talk about exactly how to make it happen.
First, Why Do Necklaces Tangle Anyway?
Honestly? It’s just science being annoying.
Chains move when you move.
Lighter ones get caught on heavier ones.
Friction, gravity, even your breathing causes them to slide and twist.
It’s not you—it’s physics.
So if you love layering (or you're trying to wear something like a sentimental mother daughter necklace set without it ending up as a jewelry jigsaw puzzle), you’re going to need a plan.

How to Layer Necklaces Without Tangling: Real Tips That Work
No endless product lists. No gimmicks. Just the tricks that actually make a difference.
➔ 1. Space Them Out
You have to stagger the lengths.
If your necklaces are sitting right on top of each other? Congratulations—you’re almost guaranteed a tangle.
Think of it like levels:
- A choker (14")
- A short pendant (16")
- A longer chain (18" or 20")
Even just a couple inches between layers gives each chain room to breathe—and keeps them from rubbing against each other all day.
🎯 Pro move: Want to really up your game? Layer chokers with lariats—nothing tangles because they don’t even sit near each other.
➔ 2. Mix It Up (But On Purpose)
Layering all dainty, whisper-thin chains sounds cute until they instantly weave together into one mega-knot.
Instead:
- Pair delicate chains with chunkier links.
- Throw a pendant necklace between two simple pieces.
- Layer different textures—rope, curb, box chains.
It’s not just prettier; the physical differences help chains move independently instead of grabbing onto each other.
➔ 3. Get a Layering Clasp (Thank Me Later)
This is the biggest jewelry hack no one tells you about.
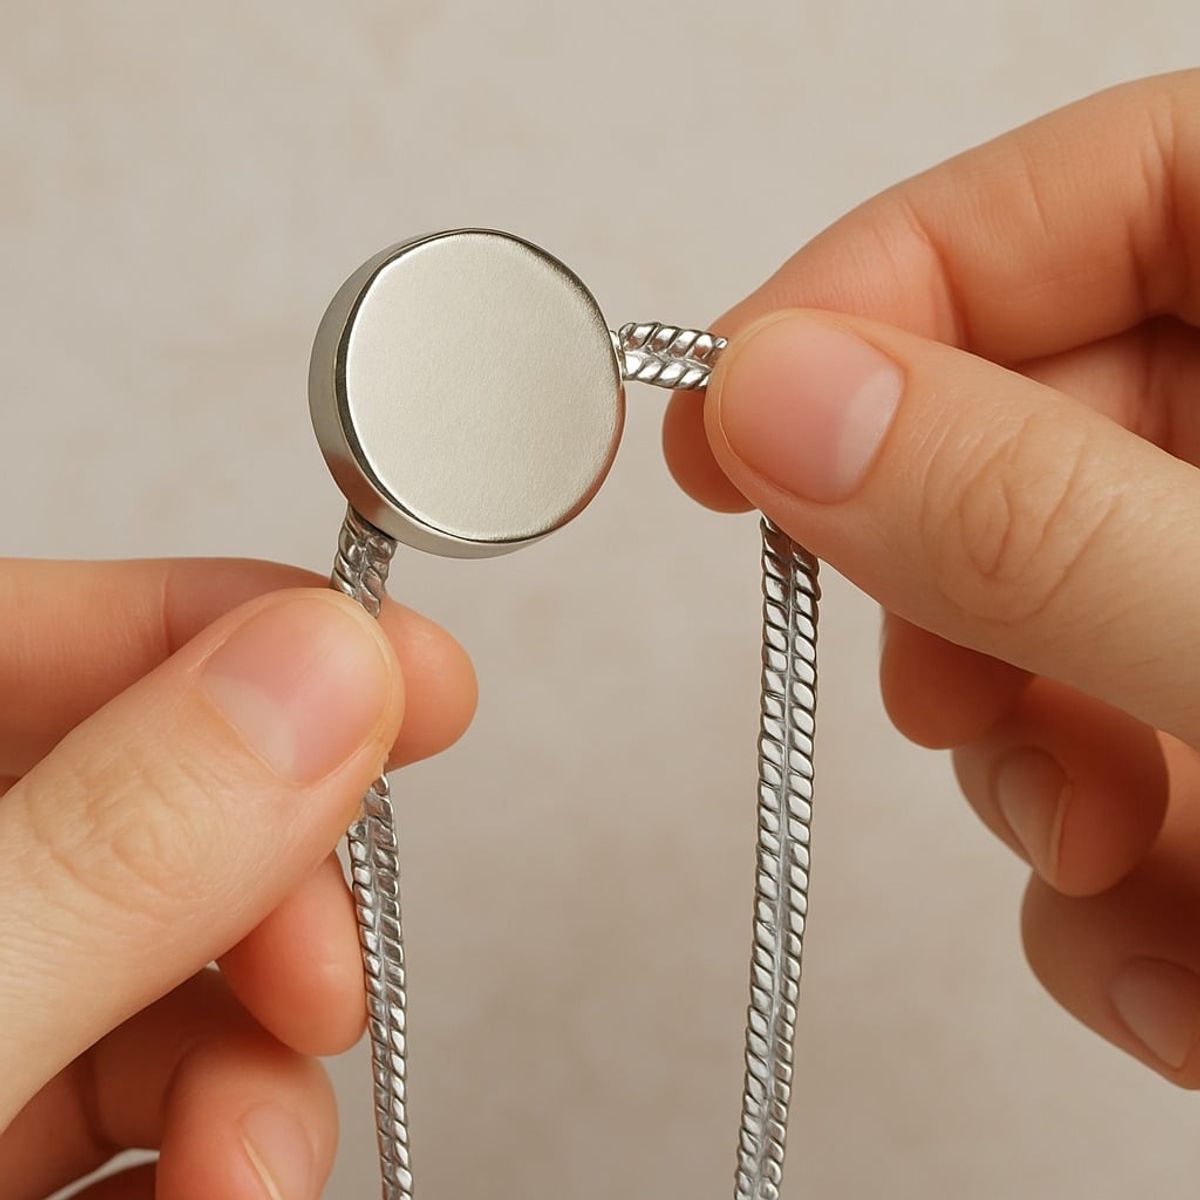
Layering clasps (also called necklace spacers) are tiny gadgets that attach to the ends of your necklaces and hold them in place behind your neck.
No sliding. No flipping. No drama.
They come in magnetic styles or slide-lock versions, and they’re a lifesaver if you’re stacking personalized necklaces or any special pieces you don’t want tangled together.
Seriously. Once you try one, you’ll wonder how you ever layered without it.
➔ 4. MacGyver Your Own Solution
No layering clasp? No problem.
- Clasp two necklaces together at the back.
- Use a discreet safety pin under your collar.
- Or even thread the back ends through a tiny jump ring to lock them into place.
It’s not fancy, but it works—and when you’re rushing out the door, that’s all that matters.
How to Keep Necklaces from Tangling While You’re Wearing Them
Alright, you made it out the door looking perfect. Now, how do you stay untangled all day?
✨ Be Smart About What You’re Doing
Look, if you’re going to be sprinting to meetings, chasing toddlers, or dancing at a wedding... maybe don’t layer four necklaces.
Two chains? Fine.
Four dainty chains and a heavy pendant? Recipe for a midday tangle crisis.
When you know it’s a busy day, keep it simple and sturdy.
✨ Use Your Hair (Or Your Outfit) to Help You
This sounds weird, but hear me out: Pin your chains under your hair, jacket collar, or neckline.
It holds them more still against your body, and minimizes bouncing, flipping, and sliding that leads to tangles.
Bonus? It makes your whole jewelry setup look intentional, like part of the outfit—not an afterthought.
✨ How to Fix a Tangle Fast (Without Wrecking Your Chains)
If you do end up with a little tangle (hey, it happens):
- Lay the knot flat.
- Dab it with a little baby oil or olive oil.
- Use a straight pin or needle to gently tease the knot apart.
- Rinse the chain afterward with mild soap and warm water.
Whatever you do—don’t yank. That’s how delicate chains break.
How to Travel with Layered Necklaces Without Crying Over Tangles
Packing jewelry for a trip?
There’s nothing worse than opening your bag to find a clump of tangled necklaces where your outfit plans used to be.
Here’s how to avoid it:
✈️ Straws Are Your Best Friend
Seriously.
- Unclasp your necklace.
- Slide it through a straw.
- Clasp it again.
Now it can’t twist around anything else. Cheap, fast, brilliant.
✈️ Baggies Work Too
If the straw trick feels too DIY for you, just clasp each necklace and tuck it into its own mini Ziploc bag.
Leave a little of the chain sticking out so it doesn’t bunch too tightly.
✈️ Or Treat Yourself to a Travel Jewelry Organizer
If you wear layered looks a lot, it’s worth investing in a travel jewelry roll or box with built-in hooks and padded slots for your chains.
They keep everything separated, safe, and tangle-free—and honestly, they just feel a little luxurious. (And you deserve that.)

Biggest Necklace Layering Mistakes (and How to Avoid Them)
Here’s what not to do if you want to keep your stacks clean and chic:
- ❌ Layer necklaces that are the same exact length. They’ll instantly fight each other.
- ❌ Pile on too many heavy pendants together. (Weight = pulling and sliding.)
- ❌ Ignore the texture of your chains. Some types (like snake chains) cling and cause friction.
- ❌ Throw necklaces loose into a bag or drawer. That's asking for chaos.
🎯 Final Cheat Sheet: How to Layer Like a Total Pro
✅ Pick 2–4 necklaces with different textures and lengths.
✅ Use a layering clasp (or fake one yourself).
✅ Let your outfit guide your stacking mood.
✅ Anchor your look with a standout centerpiece.
✅ Pack and travel smart.
🛍️ Make Your Layers Work for You
At the end of the day, layering necklaces isn’t just about fashion—it’s about feeling put-together, effortless, and a little powerful.
(And okay, maybe showing off a killer jewelry collection too.)
Whether you're layering a bold chunky chain, showing off new necklaces with meaning, or styling a delicate mother necklace set that makes you smile every time you see it—you deserve to rock your look without the tangle drama.
Now?
You’ve got the tricks, you’ve got the tips—and your necklaces better get ready to behave.
📍 Necklace Layering Map: 3 Easy Styles You Can Steal Today
You’ve got the layering basics down.
Now let’s make it easy to actually put them together without second-guessing yourself.
Here are three necklace layering formulas depending on your vibe — ready for you to copy, tweak, and make your own.
✨ 1. The Minimalist Look: Clean, Cool, Effortless
Think polished but not fussy. Tiny details that make you look instantly put-together.
What you need:
- 14”–15” simple gold or silver choker (flat snake chain or ultra-thin rope chain)
- 16” dainty pendant necklace (like a tiny disc or bar)
- 18” fine chain (no pendant or a tiny geometric charm)
How to wear it:
- Stick to all one metal (all gold or all silver looks intentional and sleek)
- Keep pendants super small and delicate
- Works best with neutral outfits: white button-downs, black blazers, linen dresses
🎯 Stylist tip: Choose your centerpiece — the middle layer should quietly "own" the look.

✨ 2. The Glam Stack: Bold, Chic, Head-Turner
You're not here to blend in. You’re here to sparkle (even during daylight).
What you need:
- 15” bold statement chain (like a chunky Cuban link)
- 17” gemstone or diamond-accented necklace
- 20” personalized necklace (like your name, a quote, or coordinates)
How to wear it:
- Mix textures: shiny + sparkly + bold
- Play with subtle color shifts: yellow gold + white gold + rose gold
- Best with sleek, monochrome outfits: little black dress, silk tops, leather jackets
🎯 Stylist tip: Don’t be shy. Bold + bold = balanced when you keep the metals consistent.
✨ 3. The Boho/Free-Spirited Layer: Relaxed, Artful, Alive
Think sun, road trips, music festivals—or just bringing those vibes into your Tuesday.
What you need:
- 14” delicate beaded choker (turquoise, pearls, tiny stones)
- 16” organic-shaped pendant necklace (like a raw crystal or charm)
- 18–20” long simple chain with a symbolic pendant (moon, star, evil eye)
How to wear it:
- Mix metals if you want (this is where mixed metals work beautifully)
- Layer natural textures—shells, beads, rough stones, hammered metal
- Pair with flowy clothes, denim jackets, beachy waves
🎯 Stylist tip: Imperfect is perfect. Let some layers be a little messy on purpose.
🧠 Quick Final Reminders for Layering Like a Pro
- Let each necklace have its moment—different lengths, different textures
- Anchor your look with a “centerpiece” layer
- Keep your chains tangle-free with a layering clasp or back clasp hack
- Your jewelry should match your energy, not just your outfit